
Install Manual
- Allows for extended sump pump run time
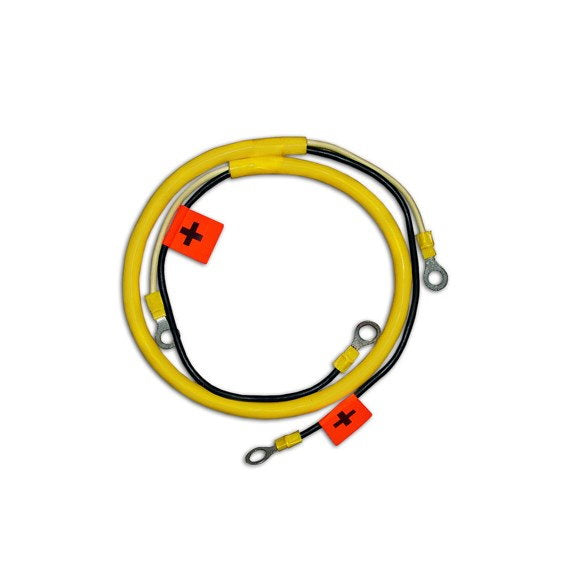
- Easy to install and is wired in parallel (positive-to-positive and negative-to-negative)
- Connects multiple batteries
To increase the run time of your system, two batteries can be connected together.
- Unplug the system from the wall
- Place one battery next to the controller. This will be considered "Battery A"
- The black wire with the positive (plus) sticker should be placed on the positive (plus) terminal of both batteries
- Tighten the wing nut on to the positive (plus) side of Battery B.
- Now attach the positive (plus) wire from the controller to the positive (plus) post of Battery A, and tighten the wing nut securing both wires.
- The white wire should be placed on the negative (-) terminal of both batteries
- Tighten the wing nut on the negative (-) side Battery B
- Now attach the negative (-) wire from the controller to the negative (-) post of Battery A, and tighten the wing nut securing both wires
- Insert the fluid sensor into Battery A's insertion point
- You will need to manually monitor the water level in the secondary battery
- We suggest checking it at least every 4-6 months
- Plug the control unit back into a grounded AC wall outlet
- The system will monitor and charge both batteries
- No external charger is needed for the secondary battery
Blog posts
-

Leading Hospitality Brands Embrace Zafferano Lighting for Striking and Contemporary Design Impressions
Read nowZafferano America's range of cordless lamps, a favorite of Oprah and Martha Stewart, (Poldina Pro) has earned the distinction of being America's most beloved brand. This acclaim comes from its classic design, the cozy, ambient lighting it offers, and the...
-

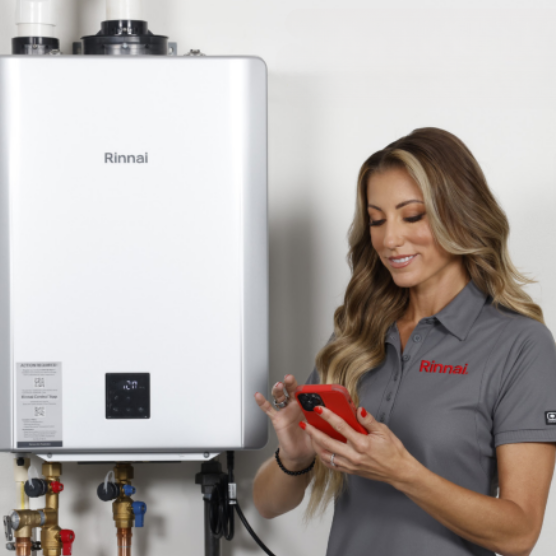
How to set up your Rinnai Central Wifi App
Read nowSmart Connect Allows you to connect your smart phone or tablet to the SENSEI® RX Series via Bluetooth®. Use the Rinnai Central™ App for quick, simplified tankless water heater set-up and registration, significantly reducing your install time Accessories Wireless...
-

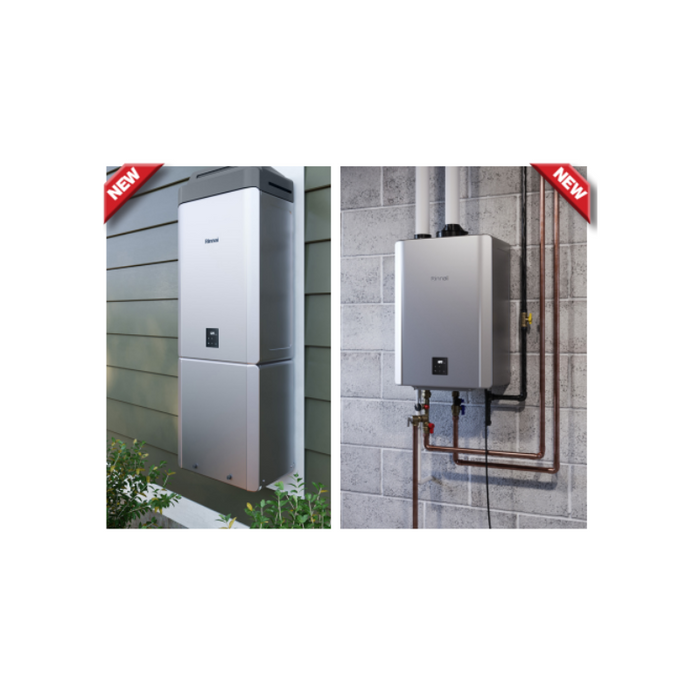
RINNAI INTRODUCES THEIR PRO BUILD SENSEI RX SERIES
Read nowRinnai Introduces their Pro Build RX Series Tankless Water Heaters, featuring Adaptive Gas Valve Technology that allows for seamless switching between Natural Gas and Propane without the need for a conversion kit. For those considering an outdoor installation, the process...


