
The Low Voltage Bistro String Straight Connector is an accessory needed to customize the length of the Low Voltage Bistro String Reel only.
Use with Brilliance Low Voltage Bistro String to convert low voltage landscape lighting cable to SO cable.
Order one Low Voltage Bistro String Straight Connector for each instance in which you have to convert low voltage landscape lighting cable to SO cable.
INSTALLING THE BISTRO STRING STRAIGHT CONNECTOR TO THE LANDSCAPE CABLE SIDE
-
Unscrew the plastic nut from the straight connector.
-
Using some needle nose pliers, gently remove the two-hole rub grommet from the throat coupler.
-
Unscrew the throat coupler from the center coupler.
-
Using a Philips screwdriver, unscrew the two cable terminals on either side from each other. The middle terminal is not used for two conductor landscape cable.
-
Strip the landscape cable approximately 1/2 inch.
-
Pass the landscape cable through the nut rounded side first.
-
Splitting the cable apart, insert each conductor through the holes of the two-hole rubber grommet.
-
Pass the landscape cable through the large side of the throat coupler with the fin side first.
-
Insert one side of the split cable into the open cable terminals and tighten the terminal screw. Repeat this step for the other side of the split cable.
-
Once both conductors have been attached, thread the throat coupler to the center coupler terminal side and screw together to tighten.
-
Position the two-hole rubber grommet into the fin side of the throat coupler.
-
Thread the compression nut back on to the fin side of the throat coupler.
-
Hand tighten until the landscape cable has been compressed. Do not overtighten.
INSTALLING THE BISTRO STRING STRAIGHT CONNECTOR TO THE SO CABLE SIDE
-
Unscrew the plastic nut from the SO Cable side of the connection.
-
Unscrew the throat coupler from the center coupler.
-
Using a Philips screwdriver, unscrew the two cable terminals on either side from each other. The middle terminal is not used for two conductor SO cable.
-
Strip the SO cable to reveal the black and white conductors, approximately 1-1/2 inches.
-
Pass the plastic compression nut over the SO cable rounded side first.
-
Insert the SO cable through the hole of the rubber grommet.
-
Strip the black and white SO conductor cable approximately 1/2 inch.
-
Insert the black and white conductors into the opened terminals. Tighten both terminal screws.
-
Once both conductors have been attached, thread the throat coupler to the center coupler terminal side and screw together to tighten.
-
Thread the compression nut back on to the fin side of the throat coupler.
-
Hand tighten until the SO cable has been compressed. Do not overtighten.
Blog posts
-

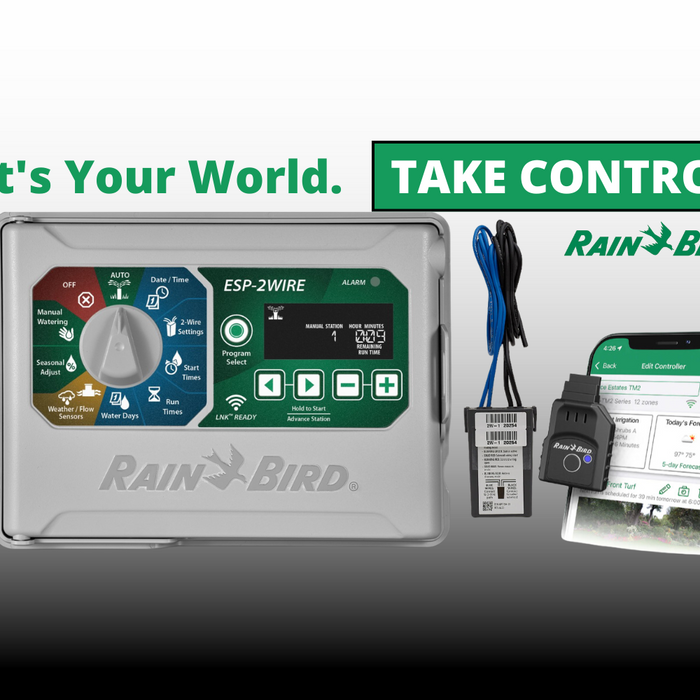
Unleashing Efficiency in Landscape Irrigation: The Rain Bird ESP-2WIRE Controller
In the evolving world of landscape management, efficiency is king. The Rain Bird ESP-2WIRE Controller emerges as a game-changer, merging advanced technology with user-friendly features to optimize irrigation practices. Let's dive into what makes the ESP-2WIRE a must-have for professionals aiming to achieve precision in irrigation without the complexities often associated with advanced systems.Read now -

Leading Hospitality Brands Embrace Zafferano Lighting for Striking and Contemporary Design Impressions
Read nowZafferano America's range of cordless lamps, a favorite of Oprah and Martha Stewart, (Poldina Pro) has earned the distinction of being America's most beloved brand. This acclaim comes from its classic design, the cozy, ambient lighting it offers, and the...
-

How to set up your Rinnai Central Wifi App
Read nowSmart Connect Allows you to connect your smart phone or tablet to the SENSEI® RX Series via Bluetooth®. Use the Rinnai Central™ App for quick, simplified tankless water heater set-up and registration, significantly reducing your install time Accessories Wireless...


